
As I worked my way through sewing a set of 18th Century undergarments, I knew I would eventually need to make a set of stays. This post is a sort of step by step guide on how I made mine, showing the entire process - from idea to finished product.
I've previously made a couple of modern hourglass style corsets, with varying levels of success, but stays are unknown territory to me. This coupled with the fiddly nature of them, and the fact that the rest of the outfit depends on their fit and shape, meant I wasn't looking forward to making them.
I chose the 1780's stays pattern from Norah Waugh's Corsets and Crinolines, and used Ralph Pink's digital pattern version (now no longer online) to save me scaling it up. However much I was dreading making them, thinking about what colours and patterns I wanted was fun.

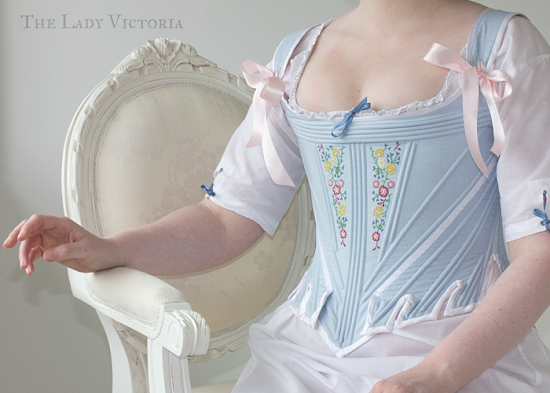
From these initial three I loved the one on the left, but I preferred the lighter blue of the middle. So I took that as a base colour and played around with lining fabric and trims. Eventually I fell in love with #5 at the top right. The pale blue and pink colour palette was definitely influenced by Sofia Coppola's 2006 film Marie Antoinette, which I'm sure we all know and love.

I knew from the start that I wanted to use reed. My options were cable ties, reed or German plastic whalebone. Reed was the cheapest and easiest for me to get, even though there is little evidence of it's use in stays. Whalebone was the most common support material by far, but unfortunately isn't quite in my budget. I had never ordered reed before, so I hedged my bets on a bundle of Round Reed #6. I could have gone with a smaller size, but I had no way of knowing until I'd seen and handled the reed for myself.
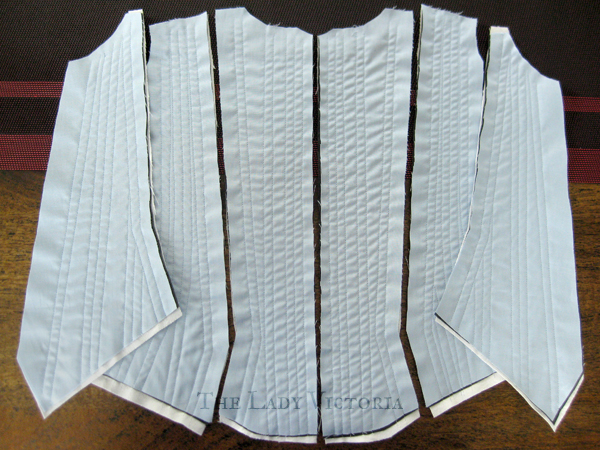
I made a mockup without any alterations to the pattern, and to my great surprise, it fit pretty much perfectly! It was also comfortable! A mistake on my part meant I ended up with four boning channels on the center front, and as a result it was slightly too wide, and the untrimmed reed dug into my armpits a little. I still wore it for six hours comfortably, and with the correct center front it should be perfect.


The stays aren't laced at all properly in these photos, and there are no straps, but you can get the general idea.
And so, with a goal in mind I bought a stack of new materials, trying to find the closest matches I could to those in my concept images. In the interests of time I was limited to my local sewing supply chain store and one other fabric shop, but I was lucky enough to find some lovely pink floral cotton for the lining at half price. I also got some white cotton duck for the strength layer, and some blue cotton for the outer layer.


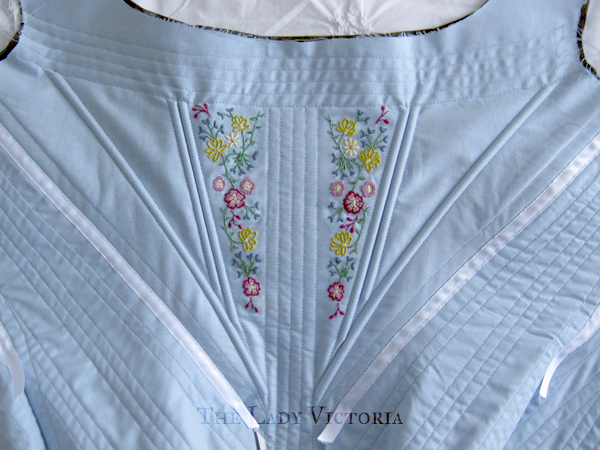
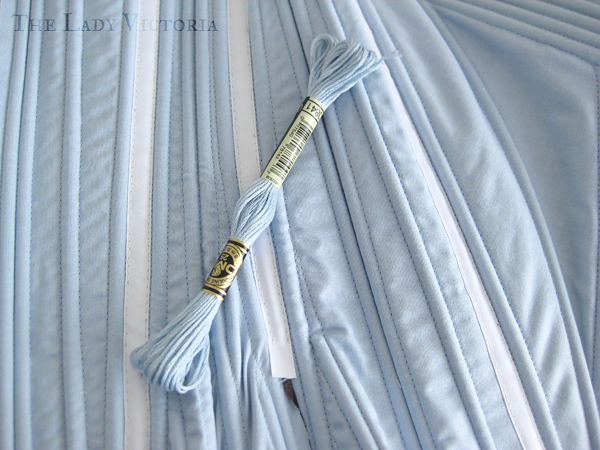
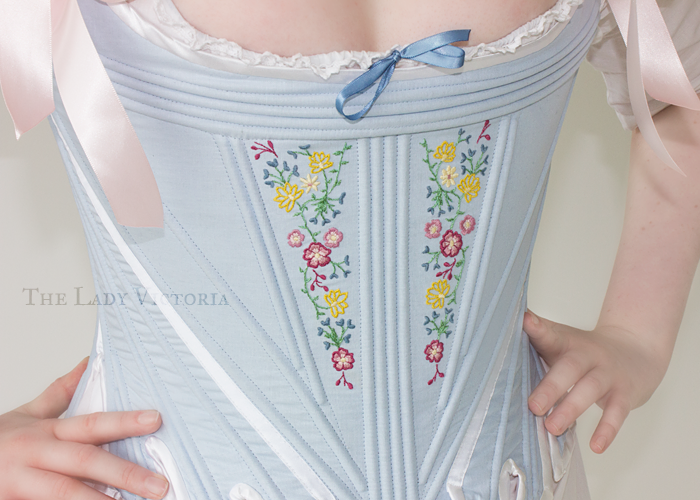
I used my mockup stays to figure out the size and shape the embroidery needed to be, and transferred that and my design onto my blue cotton outer fabric. It didn't take me as long as I had thought it would, but in the interests of time I decided to skip the third and forth panels of embroidery I had in my concept version and just have two panels of it.


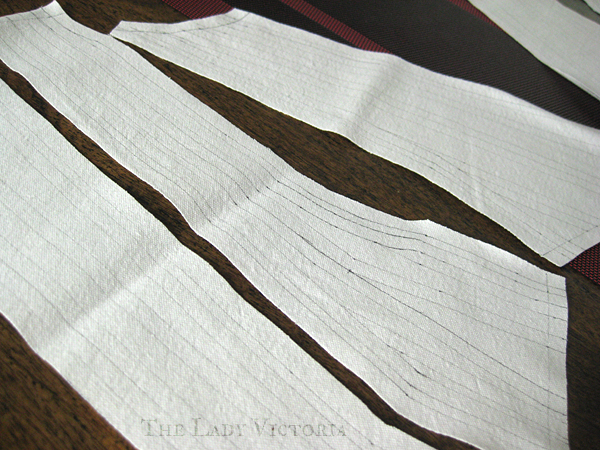
After that was done, I cut out the side panels of the stays in cotton
duck and the blue cotton outside fabric. Then I traced the boning
channels onto the duck, which I hate doing. I must invest in a tracing
wheel.
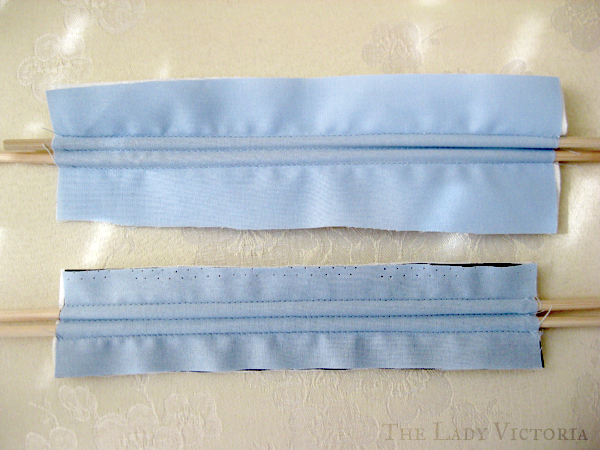
I then played around with different fabrics and interlining. On my mock-up
the reed showed through the fabric, and I felt that it could have been
sturdier overall. I boned two rectangles of fabric - one with the cotton
duck and blue cotton, and one with that plus some non-fusible
interfacing (interlining?) that I had in my stash.
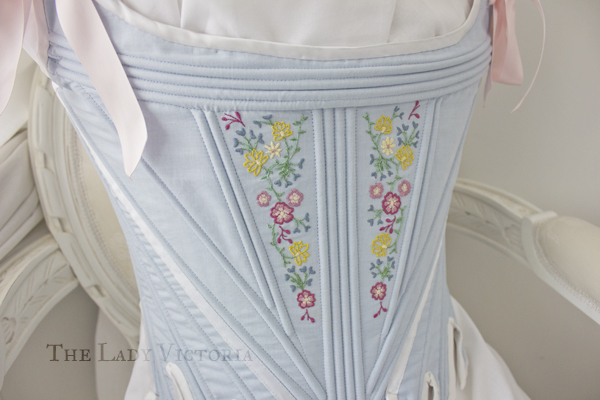
All that was left to do was the front panel, which meant lining the
embroidery up with the channels. Now, I'm sure there was an easier way I
could have done the embroidery for this. Maybe sewing the channels then
doing the embroidery?

Either way I managed to get it done. The right piece of embroidery is slightly wonky, but it's not noticeable.
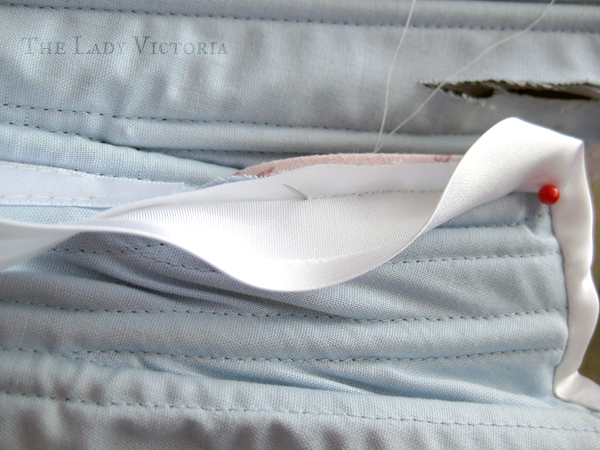
After I sewed all of the completed pieces together, I made a start on the seam reinforcements. I deliberately left 5mm gaps plus my seam allowances, so I could fit in the 10mm wide ribbon on the seams.

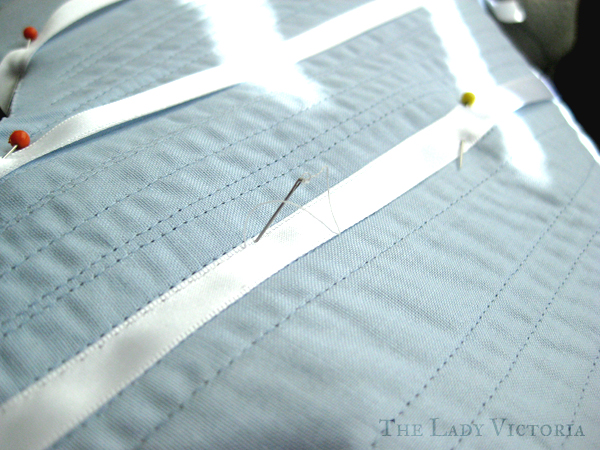
Since it was fiddly work, I decided to sew these by hand. I need to improve on my hand stitching anyway, since the top
curved channels will be hand stitched. Unfortunately there's about six
layers of fabric to stitch through, and I don't have a thimble, so it was a little rough!
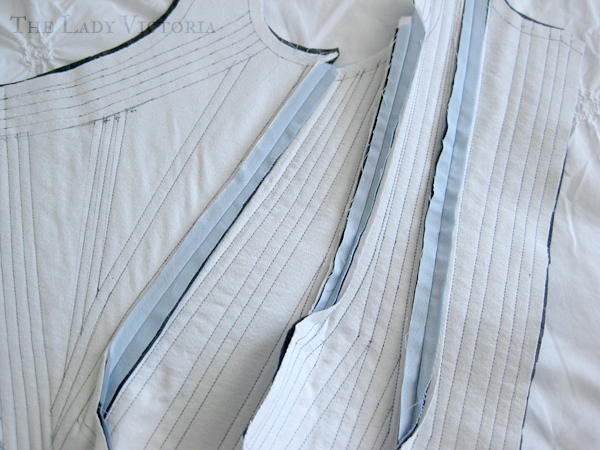
After everything was sewn together the inside turned out quite neat too. You can see where I had to adjust my boning channels after I measured slightly wrong and almost stitched through the embroidery. You can see on the front that the rightmost embroidery is very close to the boning channel, but I don't think it distracts from the overall effect.

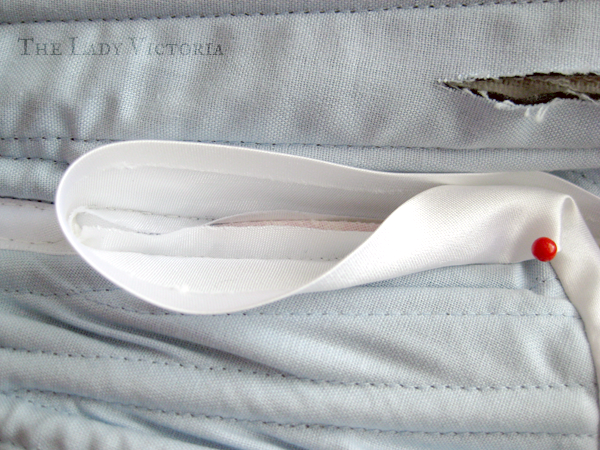
Eventually I sewed all of the seam reinforcing ribbons on. I then did a quick measurement to
determine how long the straps needed to be. The straps that came with
the pattern were far too short. I'm not sure how I can fit the default
size for the rest of the pattern but not the straps? I'm not particularly broad shouldered.


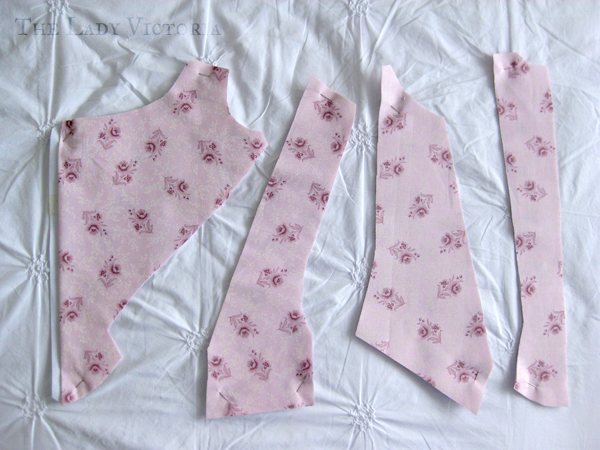
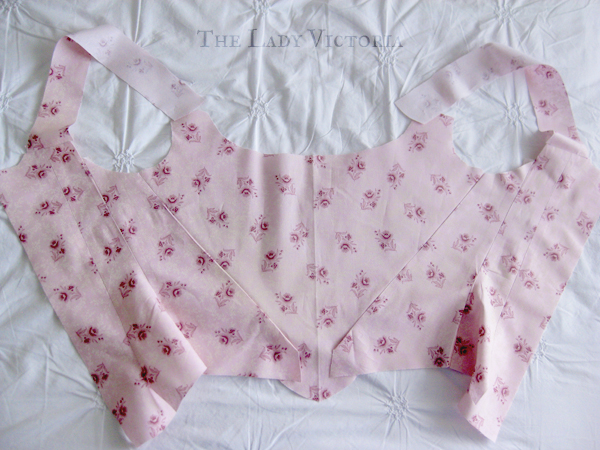
After that I cut out the lining. I only manged to use half a meter, so I
have another half meter to do something else with. It's really pretty
fabric, but I'm not sure what I can make that requires such a small
amount.
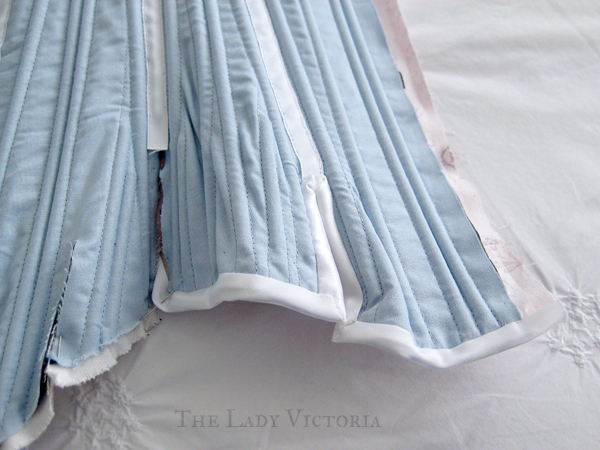
There isn't much I can do with the lining until the edges are ready to be bound, but all that left before that is the boning. First I added the small front boning pieces, then hand stitched the first curved channel since my machine doesn't have a foot to get that close without hitting the boning. The rest of the curved channels were machine sewn.

Although I don't have any pictures, here are the steps I went through with the reed:
- Measure the boning channel and cut a piece of reed to the right length.
- To straighten the reed, iron it using lots of steam. I didn't think this would work, but it does, and it's an essential step.
- Rub a candle or piece of wax over the reed. This will help it go into the channel better.
- Sand the ends of the reed so they're smooth.
- Insert the reed into the boning channel, hoping it fits.


This required a lot of pulling and pinning, but I eventually got it
lined up. There's still some ugly wrinkling that will hopefully get
fixed as I bind the edges, but it's not going to be visible anyway.
Then comes the binding. This free article on Your Wardrobe Unlock'd is essential if you want decent binding. It's clear, concise and simply wonderful. Although it's too late for me, I also found this post about binding stays before you sew the panels together. It seems like a much near way of doing it.

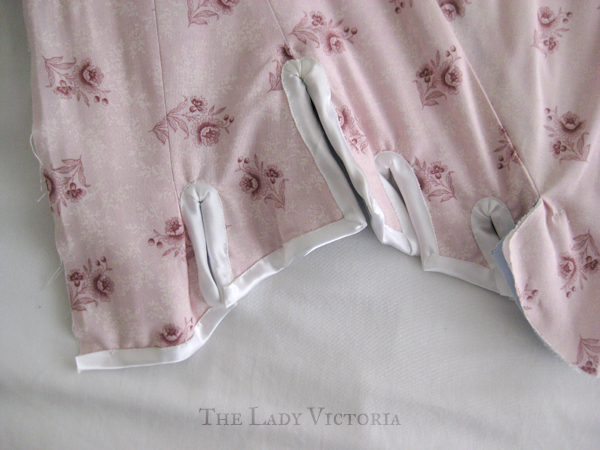
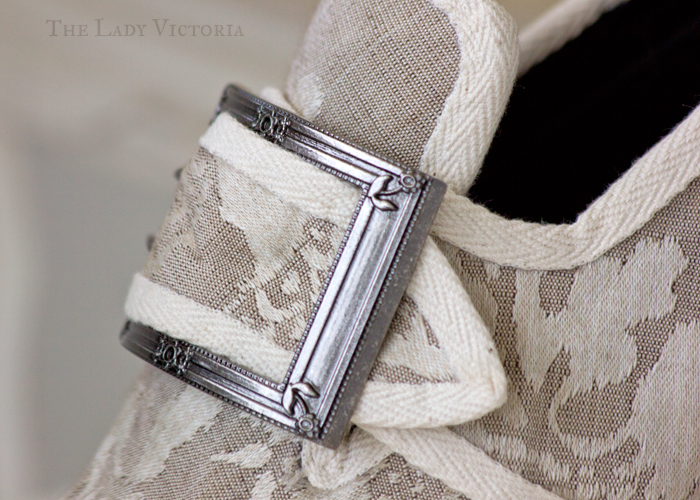
The binding for the tabs was tedious, and not the neatest thing in the
world. As I went on I got a little neater, but I'm still not happy with
most of the binding. I decided the polyester satin I used was too shiny and cheap looking,
but I didn't want to unpick everything I'd done so far. The width of the
binding was just less than two inches, which was far too wide. It would
have been easier to bind and looked neater with thinner bias binding.
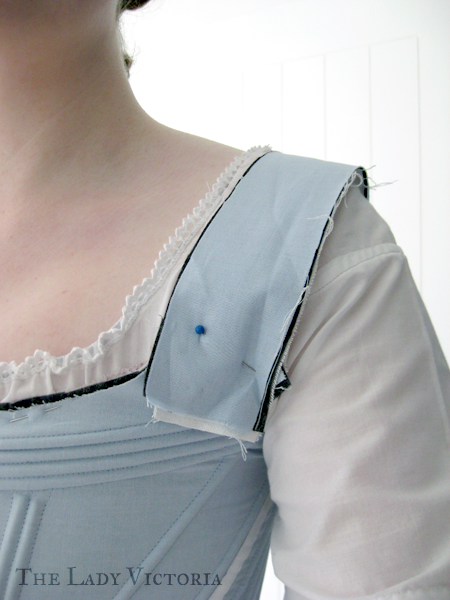
After the bottom binding was done, I added in the lacing holes. Before I
could bind the top of the stays, I needed to know how long the arm
straps were going to be, so I had to try it on. I decided to use metal
eyelets for speed and strength, then covered them in thread to achieve a
slightly more period look.

I laced myself into the almost finished stays and was relived to see that they still fit me. It had been
five months since I tried on my mockup, and I didn't trust my body to
have stayed exactly the same shape.
Originally I had cut long, as I left lots of room 'just in case'. When I
quickly tried the unfinished stays against my body a few months ago, I
thought I'd made them way too long. When I actually laced them up
properly and had a chance to fit them on a nearly completed garment, I
was glad I left in all the length.
If I'd cut them down to the length on the original pattern they would have been far too short. With the straps measured I cut them, rounded the ends and trimmed down the width. The binding on the top was done, and the last few eyelets on the straps put in and covered.


please keep showing your progress ! I just cut out my fabric from Ikea to start with this pattern ...
ReplyDeleteThanks for the comment! I'll be showing all of my progress, there's a big update coming in the next few days :)
Delete